You might also like
You might also like

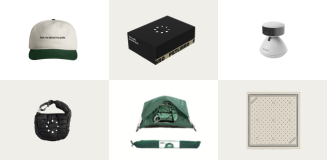
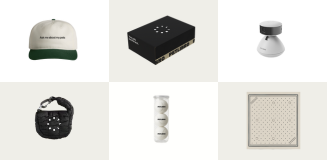
Cove Placemat
Catch spills for easy clean up
$24.99

E-Gift Card
The perfect present for any occasion
$50.00

Food Desiccant Bag & Dockstream Smart Cordless Fountain Replacement Filter
$47.97

Dockstream 2 Splash Shield
$12.99

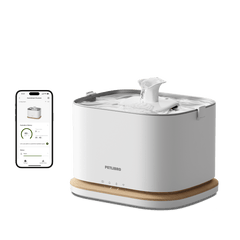
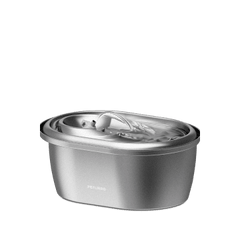
Dockstream 2 Smart Fountain
The next generation of pet hydration
$89.99

Granary Slow Feeder Bowl
The easy way to slow their eating
$19.99

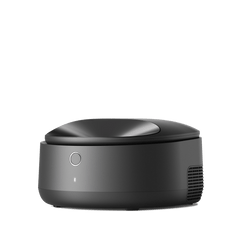
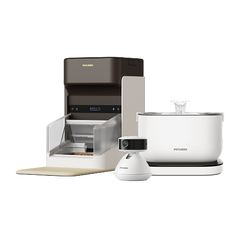
One RFID Smart Feeder
Feeding made personal
$149.99

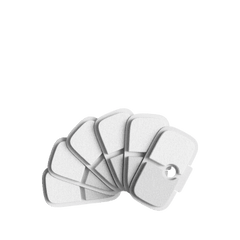
RFID Collar Tag
$14.99

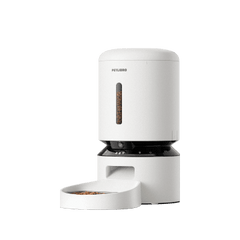
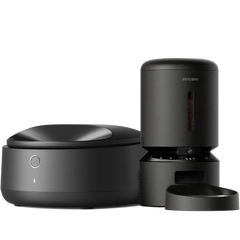
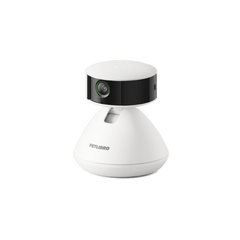
Granary Smart Camera Feeder
Make every mealtime a dinner date
$139.99

Polar Smart Wet Food Feeder
Keep wet food chill
$169.99

Dockstream 2 Smart Fountain
The next generation of pet hydration
$79.99